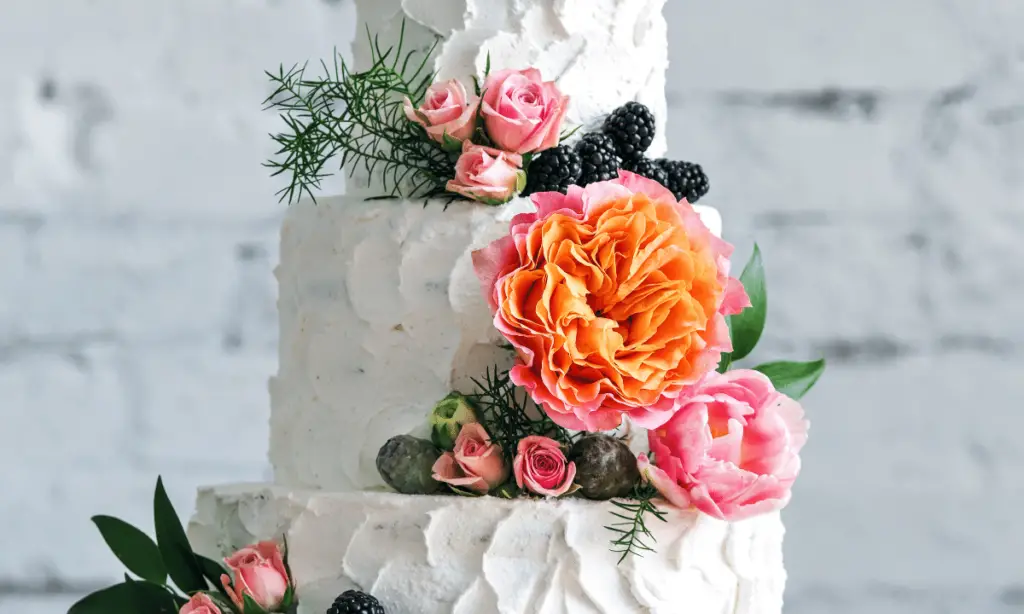
Stacking a wedding cake isn’t necessarily easy, but it is worth doing properly! Otherwise, your wedding might be interrupted by a cake disaster.
As the cake heats and the frosting and buttercream warms, an improperly stacked cake can start sliding all over the place.

Wondering how to stack a wedding cake? The key is using carefully placed dowels to hold most of the weight.
In this guide, we’ll cover how to stack your tiers for maximum stability, and a wedding cake that looks as impressive as it tastes.
How To Stack A Wedding Cake
When stacking a wedding cake, use dowels to give the structure stability. In this guide, we’ll cover exactly what you need to stack a cake, and how to achieve a perfect stacked cake.
What You Need
You need a few pieces of equipment before you can start stacking your wedding cake.
- A cake drum, equal in size or larger than your base layer.
- Cake boards for each upper tier.
- Cake dowels, either wooden or plastic. Typically, you need one dowel for every two inches of cake.
- A cocktail stick.
- A cake pen.
- A serrated knife.
- A spatula.
Prepare The Cakes For Stacking
Before you get stacking, you need to get your tiers ready.
First, ensure your cakes are completely cooled before you start working with them. It’s vital not to skip this step, as warm cakes will melt frosting, and fall apart.
Remove the domed tops from any of your cakes. The top and bottom of the cake (see also: How To Fix Cracks And Hard Top On Cake?)need to be completely flat, for better layering and stacking.
If you’re layering your individual tiers, pipe an outer circle on the rim of the bottom layer. This forms a barrier, to prevent frosting from leaking.
Fill the interior, and place the upper layer on top. Leave to cool in the refrigerator.
Start Stacking
With your cakes firm, it’s time to start stacking.
- Spread frosting across the center of the cake drum. Cake drums are thicker than the standard cake board, and will add stability to your wedding cake. Place the bottom tier on the cake drum.
- Repeat the process with the upper tiers and their corresponding cake boards.
- Use a spatula to frost your tiers.
- Place each tier in the refrigerator for at least 30 minutes. This will give the cake and frosting time to chill, and firm up.
- Once the cakes have finished chilling, remove them from the refrigerator.
- Wash and dry your dowels, so they’re ready to use in your cake.
- On your bottom tier, create a guide of where the dowels are going to go. To do this, place the cake pan you used for your second tier in the center of the bottom tier. Use the cocktail stick to lightly score around the edge of the pan (the cake will cover this).
- Insert a cake dowel into the center of the bottom tier, straight through to the cake board. Make sure to keep the dowel straight as you push in.
- Insert more dowels roughly 1 inch inside the line of the second tier, in a circular pattern.
- Using a cake pen, mark where the top of the cake is on the dowels.
- Remove the dowels from your cake, and using the marked line, cut to size. Use a serrated knife to score the dowels, and ensure a clean snap.
- Insert your dowels into the cake. They should be completely flat to the top of the cake, or your tiers will be uneven.
- Repeat this process with the rest of your tiers (except for the top one). The less weight that’s stacked on top, the fewer dowels you need per tier.
- With all your dowels inserted, it’s time to start stacking your cakes!
- Add a layer of frosting or buttercream across the dowels on your bottom layer.
- Pick up your second layer, and carefully place it on top. Use a palette knife or spatula to nudge it into position.
- Repeat this process with all your layers.
- For extra stability, take a long dowel, and insert it through the center of your cake. Depending on the strength of your dowel and the thickness of your cake boards, you may need to drill holes in your cake boards before you start stacking, for the dowel to run through.
- Pipe frosting into the joins of your tiers, and smooth using a spatula.
- You’re now ready to start decorating! Keep your stacked cake in the refrigerator for as long as possible, to prevent the layers from shifting.
Choosing The Right Dowels
Dowels are key to a steady and stable stacked cake. When choosing a dowel, consider how many layers you’re using, and the type of cake being stacked.
Plastic dowels are made using a food safe plastic. They typically have a hollow center with a thick outer rim. Plastic dowels tend to be easy to cut, and you can trim many of them using scissors.
But there are also thick, strong plastic dowels that are better to use for multi-layered cakes.
Bamboo or wooden dowels are also food safe. These dowels are harder to trim, and you may need to use a saw and sandpaper to achieve an even finish.
However, you can sharpen bamboo dowels, which make them easier to push through a cake.
Look for dowels made specifically for cake stacking. These are made with food safe materials, and they tend to come with guides on how much weight the dowels can hold.
Using Different Cakes For Different Layers?
If you’re using different flavored sponges for your cakes, then the tier order doesn’t matter.
However, if you plan on using a traditional fruit cake alongside sponge cakes, the heavier fruit cake layer must be on the bottom. Otherwise, your cake will collapse.
Final Thoughts
Stacking wedding cakes requires a little care and attention, but it’s a job worth doing right.
Carefully placed dowels can support your cake layers, creating a wedding cake so fantastic you won’t want to cut into it!
- How To Make Honey Butter - July 4, 2023
- How To Make Meringue - July 3, 2023
- What Is Shortening? - July 3, 2023


