However, not every part of the process is going to be a piece of, well, cake. This is especially true when it comes to frosting the cake.
However, it doesn’t have to be difficult.
With the right technique, you’ll find that frosting a cake can be easy, and you’ll be on your way to making better looking, better tasting cakes in no time.
In our handy article below, we’re going to tell you how to frost a cake, with all the steps and tools you’ll need.
We’re going to explain how to frost a layer cake, but if your cake is a different kind, then the process can just simply be adjusted.
Equipment
To properly frost a cake, you’ll need a few different utensils. Some of them you will already have in your kitchen, but you may have to go and purchase others.
Additionally, not all of these are essential – some of them just give you a neater, nicer result!
Some Parchment Paper
This is crucial for frosting a layer cake, because it’ll help keep things cleaner, as well as make sure that the individual layers don’t stick to the cake pan. Your cake will stay in fuller, cleaner condition.
A Butter Knife OR An Offset Spatula
A butter knife will do a fine enough job of helping you frost a cake, but if you want a neater job then you might want to consider getting an offset spatula.
They make frosting less tiring for you, on top of that.
A Metal Bench Scraper
This isn’t essential, but it’s a great tool for a neat final product. They will help you to smooth the frosting, giving the cake a much cleaner presentation.
A Piping Bag With Tips
This is another one that’s only necessary if you want a better-presented cake at the end. A piping bag allows you to add more stylish flourishes to your cake, like ruffles and spirals of frosting.
A Turntable
Finally, this isn’t essential, but makes frosting a lot easier. A turntable allows you to rotate your cake as you’re frosting, allowing you to easily cover it all without having to move yourself.
Preparing Your Cake For Frosting
Before we get to the frosting steps, you need to ensure that your cake and frosting are meeting some temperature requirements.
For one thing, your frosting needs to be at room temperature. If you’ve been keeping it in the fridge, then it’s going to be denser and harder to spread. And if it was stored in the freezer? Even more so!
If you have been storing it that way, allow it to reach room temperature, then mix it for about half a minute to make the consistency light and fluffy again.
After that, your cake also needs to be at room temperature. If you’ve just baked your cake, you’re not going to be able to frost it.
First, it needs to cool in the pan for half an hour, then be transferred to a wire rack where it cools further for a couple of hours.
How To Frost A Cake
With your equipment to hand, and your cake and frosting both at room temperature, you’re ready to begin!
These instructions are for a layer cake, but you can frost a single-layer cake with the same later steps.
Step One: Sticking The Bottom Layer
A cake can move around while you’re frosting it, making it very difficult. As a result, you’ll want to temporarily stick the cake to its plate with frosting.
First, put some frosting onto the cake plate, then take the first cake layer and turn it upside down. Put this flipped layer onto the plate, sticking it to the frosting.
After that, put some sections of parchment paper under the layer. This will help to keep your plate clean from all the frosting and crumbs that are going to come.
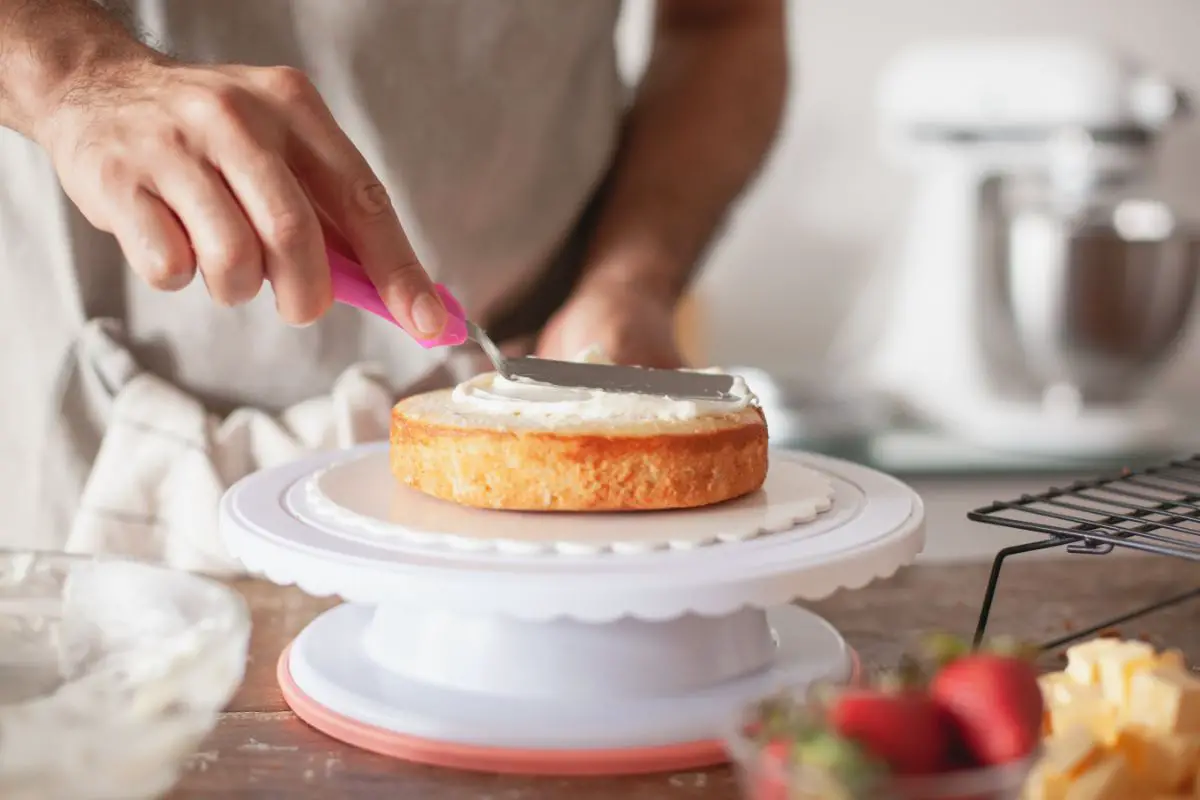
Step Two: Frosting The Layer
You’ve already got a layer of cake down, and now it’s time to do the next. Take about a cup of frosting, or a little less, and spread it onto the top of the layer.
This top will technically be the bottom of the cake, because you flipped it. It’s the flattest part, so it’s handy to have it now on top, because it will make spreading the frosting easier.
Make sure to fully cover the top, spreading the frosting all around it and going right up to the edges. Try to be neat and even too.
Step Three: Repeat
If you’re adding another cake layer, then repeat the process. Make sure that the middle layer is the flattest one, though.
Step Four: Sealing With Crumbs
With your layers frosted and attached to each other, it’s time for a coating of crumbs.
This is going to be a thin layer of frosting all around the cake. Thinly spread frosting on the sides and top of the cake, before scraping away any excess.
The crumb coating is done for both presentational and practical reasons, since it gets rid of stray cake and crumbs, making it easier to apply your final frosting coat later.
It’s best to let the cake and its crumb coating chill for about half an hour in the fridge before you move on, because it will make it firmer.
Step Five: The Final Frosting
Once your crumb coating is firm, you can apply your final frosting coating.
How you do it is up to you! You can simply go over it all, add patterns, use a piping bag for stylish flourishes, and more. A turntable will really help you with this stage.
By the end, you’ll be left with a neat and beautiful (not to mention delicious!) frosted cake.
Final Thoughts
Frosting a layer cake is easy with these steps – for a single-layer cake, just adapt them!