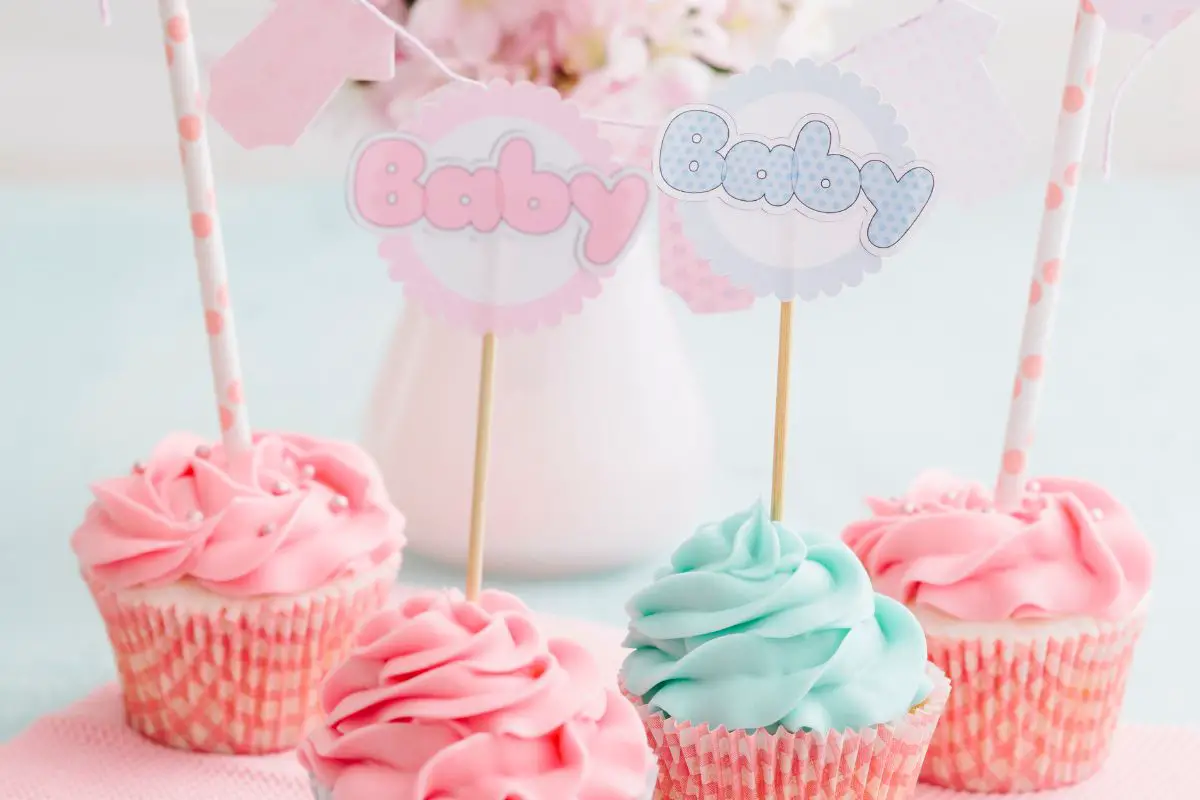
A cricut is a cutting machine used in the crafting industry to cut out patterns and designs out of fabric, paper, and other materials and can be used to create cake toppers.
A cricut is a machine that cuts fabric and other materials. Here’s everything you need to know about how they work, how to use them and what you can do with them.
There are so many events in our lives where we celebrate with cakes.
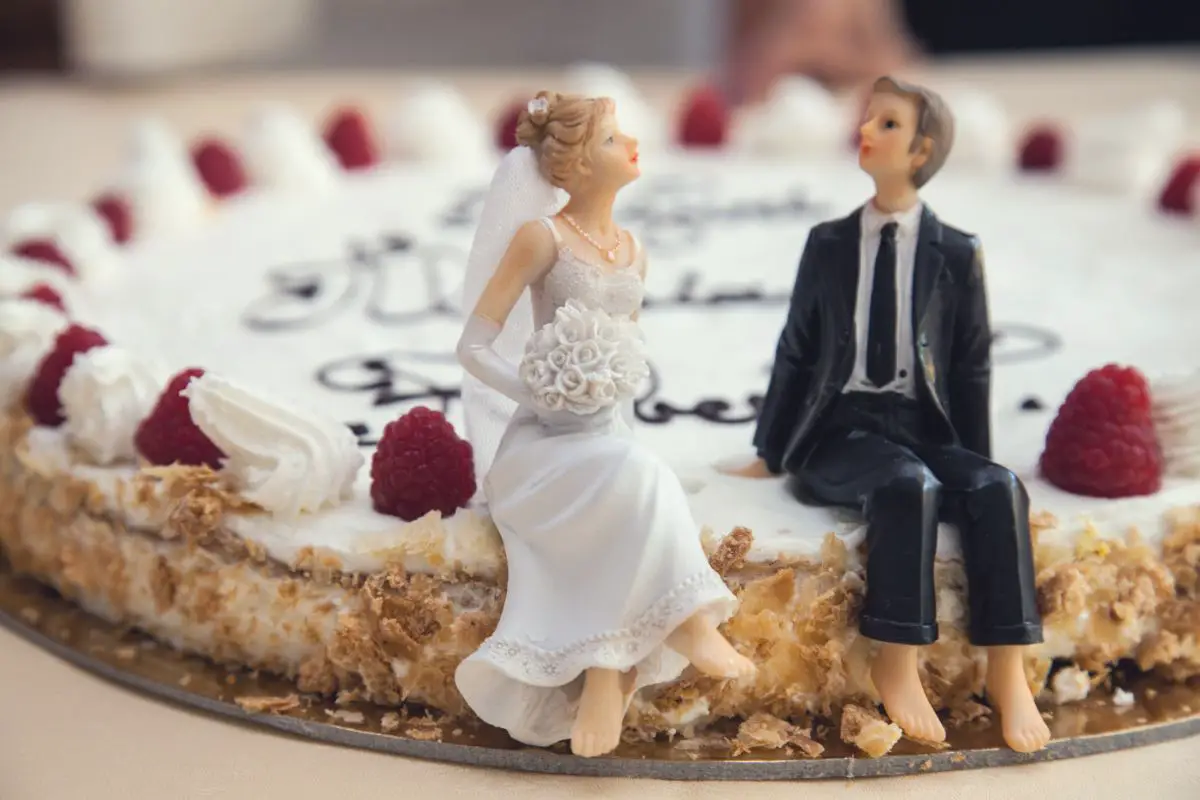
For example, birthdays, anniversaries, getting a new job, baby showers, weddings and many more!
This guide will be explaining how you are able to use cricuts to make your cake toppers and how it all works.
The guide will be straightforward and easy for you to understand! Find out more here.
Customizing Cake Toppers In Cricut Design Space
The first step when making a cake topper is the click on “ images” in the cricut design space. Then click “ cake topper” in the search bar.
There will be thousands of options perfect for a whole range of events from baby showers to birthdays.
Then choose one you like press cut and you’re ready to go!
Wording On The Topper
If you do not want the wording on your topper to be transparent and would prefer a shadow layer you can use the offset tool which will add another layer.
If you would like to customize the sentiment you can add a text box. When doing this you can choose which font you would like and add a personalized message.
If you click on advanced and then ungroup to lines this helps to move individual lines which makes it easier to move them.
After doing this, you will be able to move to lines closer together, if the lines then overlap it will be easy for you to glue layers without having to cut them individually.
Once the letters are exactly how you want them you can then highlight them all with your cursor and click the “weld” button located on the bottom right.
To add a shadow layer click the offset button. If you want the background to show more or less you can adjust the size of the offset.
If you are sure where exactly you would like your offset you can then weld it to the image you are using.
Step-By-Step Instructions
- Choose the images you want to use for your cake topper in design software.
- Size your images to fit your cake. If you are using larger images for your topper you can always move them around on the prepare screen.
- Put the material you will be using for your topping on a green cutting board. It is important to ensure that the surface you are using is nice and flat.
- Next turn your cricut explore setting wheel to custom and decide on the material from the drop down menu on the screen.
- Follow all steps from cricut design space. You will have to load a new mat for each new color. You will need to continue loading new mats until the design is completely cut out.
- Remove cardstock from a cricut mat. To do this effectively, turn the matt upside down and peel it away from the cardstock. This is the most effective way as it prevents the paper from rolling. For more intricate designs use a spatula and then tweezers to peel the cardstock away.
- Next, use a glue stick, a glue pen or double sided tape to stick the layers together. If you are using a 3D design, fold the lines and put the piece together before. For a 3D design we find hot glue works best, so you may want to use a glue gun.
- By now your design should be put together and ready to go, the next step is to attach something that will hold your design up. For this, there are a variety of options to choose from. For example, pretty straws, bamboo skewers or toothpicks.
- Use a glue gun to stick the straws to the back of the topper.
- The final step is to stand back and admire your handy work and fabulous cake topper!
Top Tips For Making A Custom Cake Topper
- It is not imperative to use cardstock when making your cake topper. You can also use metallic poster boards.
- If you are working with complex wording we would advise using a thicker font, especially if you are using a small font size. Sometimes using tiny letters makes cutting them out extremely difficult.
- Ensure you are using a clean cutting mat and very sharp fine point blade.
Final Thoughts
We hope this simple step by step guide on how to make a cake topper with cricut.
Whether you are making a cake topper for a birthday party, wedding party, anniversary gender reveal or any other occasion this guide will be able to assist you.
Using the cricut to make a cake topper ensures a unique and personal design. It is also a fun project to do with loved ones and a great gift idea.
Frequently Asked Questions
How Do You Support A Heavy Cake Topper?
A way you would support a heavier cake topper is by using cardboard.
If you mount the topper to a piece of cardboard around the size of the cake and ice that cardboard around as part of the cake.
Use dowels under the cardboard where the topper will be. This will distribute the weight across the cake better.
Where Do You Put Dowels In A Cake?
When inserting the dowels into the largest tier, you should start by placing one into the center of the cake.
After this, place additional dowels a little inside the circumference where the next tier will sit. So the dowels will be below the second tier.
- How To Make Honey Butter - July 4, 2023
- How To Make Meringue - July 3, 2023
- What Is Shortening? - July 3, 2023
