Or are you curious and want to know more? Whatever the reason is that brought you here, we have the answers for you.
Finding out how to make rice paper can be tricky, especially if you have never made it before.
You head online for some guidance but are met with page after page of conflicting and confusing answers, leaving you unsure where to turn or who to trust. How will you know how to make rice paper now?
Well, that is where we come in! Keep reading to find out how to make rice paper, with our detailed step-by-step guide below.
Whether this is your first time making rice paper or you are looking for a new recipe, we are sure you will find success.
What Is Rice Paper?
Let’s start with a brief recap for those that need it. Rice paper comes in two forms, edible and inedible.
Edible rice paper is traditionally used to wrap spring rolls, candy, and other Asian delicacies. It is typically made from water, some starch, tapioca, or rice flour.
Rice paper is naturally gluten-free and vegan, making it perfect for everyone to enjoy!
Rice paper tends to be thin and can be filled with anything you choose, allowing you to make versatile dishes that are used to impress your family and friends.
Inedible rice paper is often made from plant matter instead of rice and is used for calligraphy, origami, and other paper products.
This type of rice paper is often manufactured in factories and distributed to markets. However, it can still be made at home with some starch, water, and flour spread over plastic wrap and heated.
In today’s article, we will be looking at how to make edible rice paper.
How To Make Rice Paper
Now that we have established what rice paper is, let’s see how you can make it! We have a step-by-step guide below you can follow to make perfect rice paper!
What You Need
A pinch of salt
1 ½ tbsp water
1 tbsp potato starch
1 tbsp rice flour
Step 1 – Form The Paste
To start, you need to make a paste. Add rice flour, potato starch, water, and salt to a bowl. Whisk until they become a glue-like paste.
Step 2 – Cover A Plate With Plastic Wrap
Take a large, microwavable plate and cover it with plastic wrap. You want this to cover the plate tightly.
Step 3 – Add Your Mixture
Carefully pour your mixture onto the plastic wrap. Provided the wrap is tight enough, the rice paper will sit on it.
Spread the paste into a smooth, even coating, roughly seven inches across. You can tilt the plate if needed to do this or use a spoon to spread it.
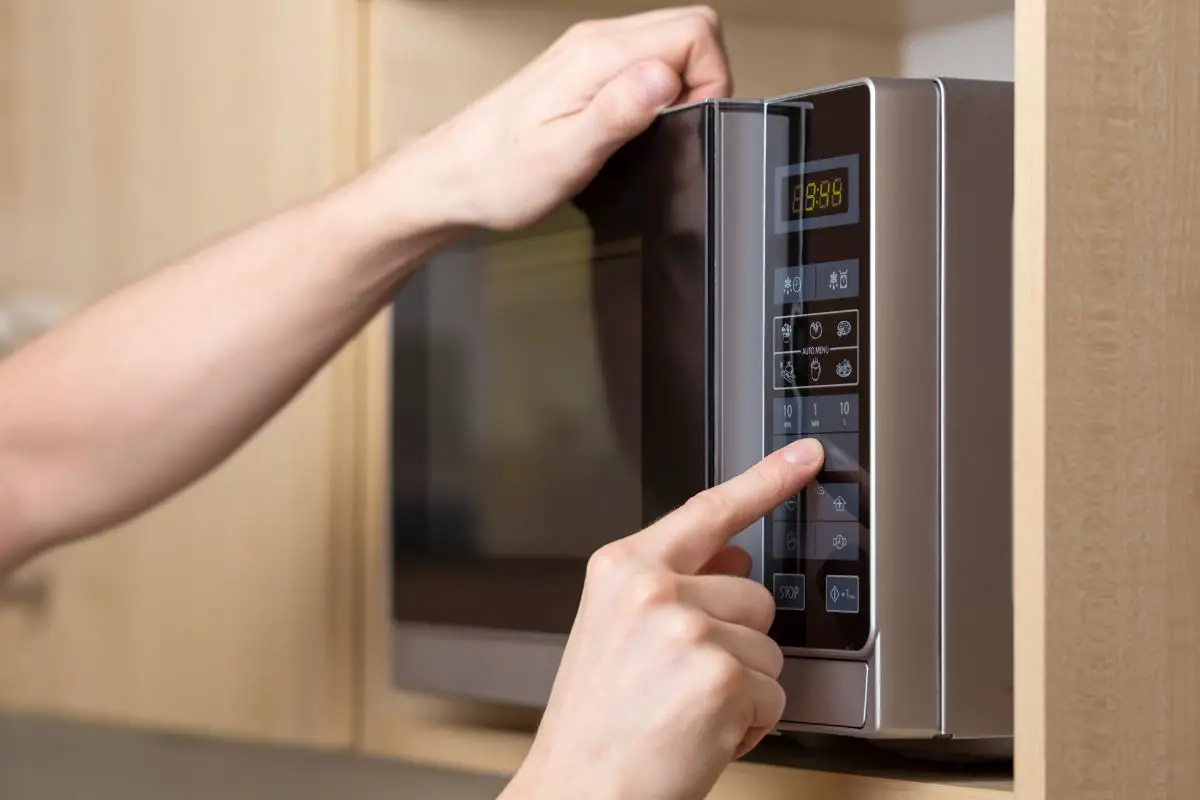
Step 4 – Microwave The Mixture
Take the plate and place it in a microwave. Heat on high for forty-five seconds.
How long you need to heat the mixture varies depending on your microwave. For a 500W microwave, we recommend 40-50 seconds.
Step 5 – Hold The Wrap Upside Down
Undo the plastic wrapping from the plate while keeping the wrap intact with the rice paper on it. You might need to hold the plate upside down to do this.
Take care as the plate will be hot and it can be tricky to do this with oven mitts on.
Step 6 – Remove The Rice Paper
Now it’s time to remove the rice paper! Try to lift the edges of the rice paper. As it cools, the edges might lift themselves up a little too.
Work slowly here, continuing to lift one edge of the paper, even if it tears.
Once removed, flip the paper upside down before you add any filling.
Step 7 – Fill And Wrap
Once your paper is removed, you can wrap it! To make spring rolls, add your fillings like chicken, pork, tofu, or raw vegetables on the bottom third of the paper.
Place the bottom of the rice paper over the filling and continue to wrap the roll upwards, keeping the filling tight inside the paper.
You can then drop the rolls into boiling oil until golden.
Step 8 – Store The Rice Paper
If you aren’t using the rice paper straight away, you can store it for later use. To do so, place your rice paper into an airtight container and store them in the refrigerator.
Once your paper is made and exposed to the air, it can absorb moisture, so be sure to store them quickly to avoid this.
If you plan to use your rice paper soon, but not immediately, such as later that day, you can store them in a damp towel. Cover with plastic wrap and put them in the refrigerator to keep them soft.
Step 9 – Soften
If your rice paper has been stored correctly, it should last a few days in your refrigerator. But refrigerating your rice paper will cause it to harden.
Thankfully, you can still use it! You just need to soften it so that you can manipulate it easily.
To do this, take your hardened rice paper and dip it in some lukewarm water. Then let it sit on a plate and it should soften.
If it does not soften as you would like, you can chop it into noodles or throw out the rice paper.
Final Thoughts
And there you have it, nine steps that allow you to make, use, and store rice paper!
Making rice paper is easier than you first think and can allow you to make tasty treats from spring rolls to artificial flowers.
Be sure to use our step-by-step guide and remember to check the wattage of your microwave to ensure the mixture is heated for long enough.