Gelatin Art cakes are thought by many to be extremely difficult to create, but this isn’t always the case, and as long as you have all of the ingredients and equipment you need, you too will be able to create fantastic Jelly Art at home.
If you’re going to be making 3D Jelly Art cakes, then of course you’re going to get some of the specialized tools used to create the intricate 3D shapes, and with some of the patterns including things such as flowers and buds, it can get quite tricky.
In addition to your patterns, you’re also going to need a suitable jelly base before you start too.
So, if you’ve been wanting to make your Gelatin Art Cake, then this tutorial should help you to make your very own Jelly Art Cake.
Don’t be too discouraged if it doesn’t go perfectly the first time around, and the more you practice, the better you will get!
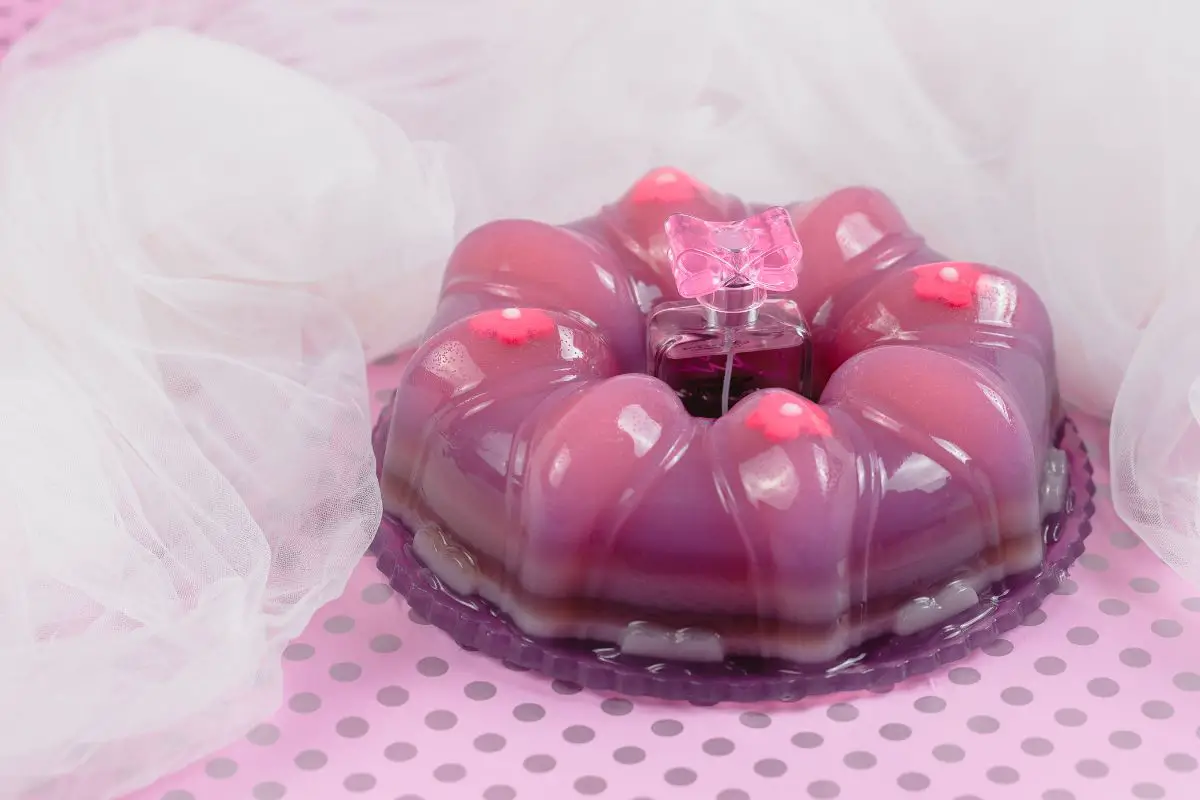
What Is A Gelatine Art Cake?
Gelatine Art Cakes are a type of dessert that combines the traditional elements of cake baking with the creative and artistic use of gelatine.
The gelatine is usually made by dissolving unflavored gelatin powder in water and then mixing in food coloring to create a vibrant and visually appealing color palette.
Once the gelatine is tinted, it can be poured into a mold or onto the surface of the cake to create different patterns, shapes, and designs.
The gelatine can be used to make flowers, leaves, shapes, and even three-dimensional elements such as fruit or animals.
The end result is a cake that is not only delicious but also visually stunning, making it a popular choice for special occasions and events.
Gelatine Art Cakes can be made with a variety of cake flavors, including vanilla, chocolate, fruit, and more, and are often decorated with additional elements such as frosting, edible glitter, and fresh fruit.
They are also customizable, allowing for a wide range of creative possibilities, from simple and elegant designs to more elaborate and intricate creations.
Gelatine Art Cake Tutorial
Making a gelatine art cake is no easy feat, but with this tutorial, you should be able to manage to create a pretty decent jelly art cake of your own.
We’ll provide you with all of the details on how to make one of these incredible looking cakes, as well as the equipment you’ll need!
Ingredients Needed
So, in order to make this jelly art cake, you will need
Kappa Carrageenan – 20 grams (This is a vegan thickener and stabilizer, and you can always choose to use Agar instead if you can’t find any near you).
White Sugar – 415 grams
Rosewater – 50ml (⅕ of a cup)
Coconut Milk – 400ml (1 and ½ cups)
Artificial or Natural Food Coloring (Of your choice!)
Alongside these ingredients, you’re also going to need some jelly art tools in order to help create your dream cake, some of these include:
Gelatine Molds: Coming in a variety of shapes and sizes, these molds are used to create the gelatine designs. They can be silicone or plastic and can be used to make shapes such as flowers, leaves, fruits, and more.
Piping Bags: Mainly used to pipe the gelatine mixture onto the cake surface to create intricate designs and patterns.
Droppers: Used to drop small amounts of gelatine mixture onto the cake surface to create designs and patterns.
Syringes: These can be used to inject the gelatine mixture into the cake to create three-dimensional elements, such as fruit.
Funnels: Used for pouring the gelatine mixture into the molds or onto the cake surface.
Spatulas: These are used to smooth out the gelatine mixture and spread it evenly on the cake surface.
Pastry Brushes: These can be used to create brush strokes and patterns in the gelatine mixture.
Note: Not all of these tools may be necessary for every Gelatine Art Cake project, but having a variety of options can help you achieve the desired results.
Method
So, with all of your equipment and ingredients ready, this method will provide you with the details you need in order to create an incredible gelatin art cake!
Step 1: To begin, we’ll make the clear base of our jelly art cake. Take 1.7 liters of room temperature water into your saucepan, and then while continuously stirring, you’ll want to add in 12 grams of your Kappa Carrageenan (or Agar).
Once you’ve added it in, allow it to stand for 10 minutes, which will help it to bloom.
Step 2: Next, you’ll want to place the pan over a medium heat and begin to stir it for between 2 to 3 minutes, which should help to dissolve any leftover lumps.
Then, bring it to the boil, while removing any of the foam which might have formed on the surface. Add 350 grams of your White Sugar, and stir it until the sugar has fully dissolved.
You’ll then need to remove the mixture from the heat, and add in your Rosewater.
From here, take a fine sieve and strain the mixture into a suitable mold, until it reaches between 4 to 5 cm deep. Stand until the mixture has cooled, and then refrigerate until it has completely set.
Step 3: To make the milk coloring, place your Coconut Water as well as 600ml of water in a saucepan over a medium heat, and then combine together your remaining Kappa Carrageenan (or Agar) and White Sugar in a separate bowl.
Once combined, add just a small amount of boiling water, which should help the mixture take on a gel-like consistency.
Then add this gel mixture into your coconut water and heat up until the mixture is hot (but not boiling).
Then, separate the mixture in a number of different cups, depending on how many colors you want to use, and add in your coloring and mix well.
Ensure that your cups of colored mixture are stood in hot water to keep their consistency too.
Step 4: From here, you can use your colored mixtures and art tools to create whatever you would like, so it’s time for you to get creative!
Just remember that once you’ve created your art, you’ll need to refrigerate it for an hour, or at least until it has firmed, as this will ensure that it doesn’t break apart!
Conclusion
So there you have it, everything you need to know to get you started making incredible gelatine art cakes.
As previously mentioned, it’s an incredibly difficult skill, and can be quite stressful if you happen to mess up, but if you keep practicing, then you’ll be sure to create incredible jelly art cakes in the future!
We hope that this guide has provided you with a better understanding of jelly art cakes, including what ingredients and equipment you need to make them, as well as what the process actually looks like, thanks for reading!


Leave a comment