How fun is baking? It’s one of those activities that you just can’t help but love.
Whether it’s for a bit of fun family time or it’s your own personal stress relief, it’s just an enjoyable thing to do all round – and there’s a delicious treat waiting for you when you’re done.
Win-win. Of course, baking doesn’t come without the perils of trial and error.
There will be times when things don’t come out just right, but that’s all part of the fun.
You learn from your mistakes and the next time you give your recipe a go, it’ll come out better looking and better tasting than the time before.
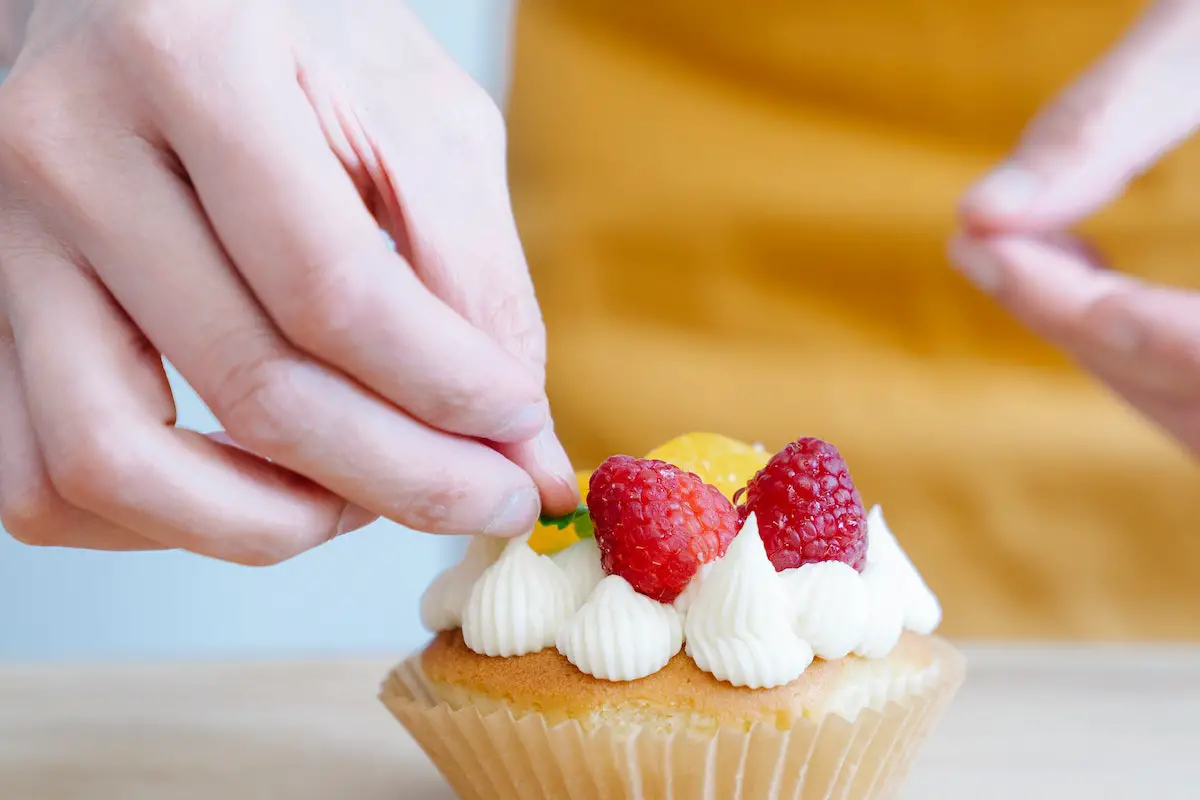
And while measuring, pouring, whisking, and baking can be a blast, the real fun comes in once you’ve made your favorite frosting flavor and it’s time to turn those bite-sized cakes into a beautiful piece of artwork.
And don’t get me wrong there’s nothing wrong with a wonky cake with haphazard decorations, again it’s part and parcel of giving it a go, but sometimes you just want to create something that looks as if it’s come fresh from a bakery.
There’s nothing quite as satisfying as the oohing and aahing of impressed guests tucking into your tasty treats.
To get this result, you only need to master the art of the right pressure applied to a piping bag combined with the suitable piping tip.
A well-made recipe also helps.
Throughout this article, I’m going to share and spill all my best cake-decorating secrets with you so that you too can make the best-decorated cupcakes your guests will have ever seen.
How To Frost Cupcakes?
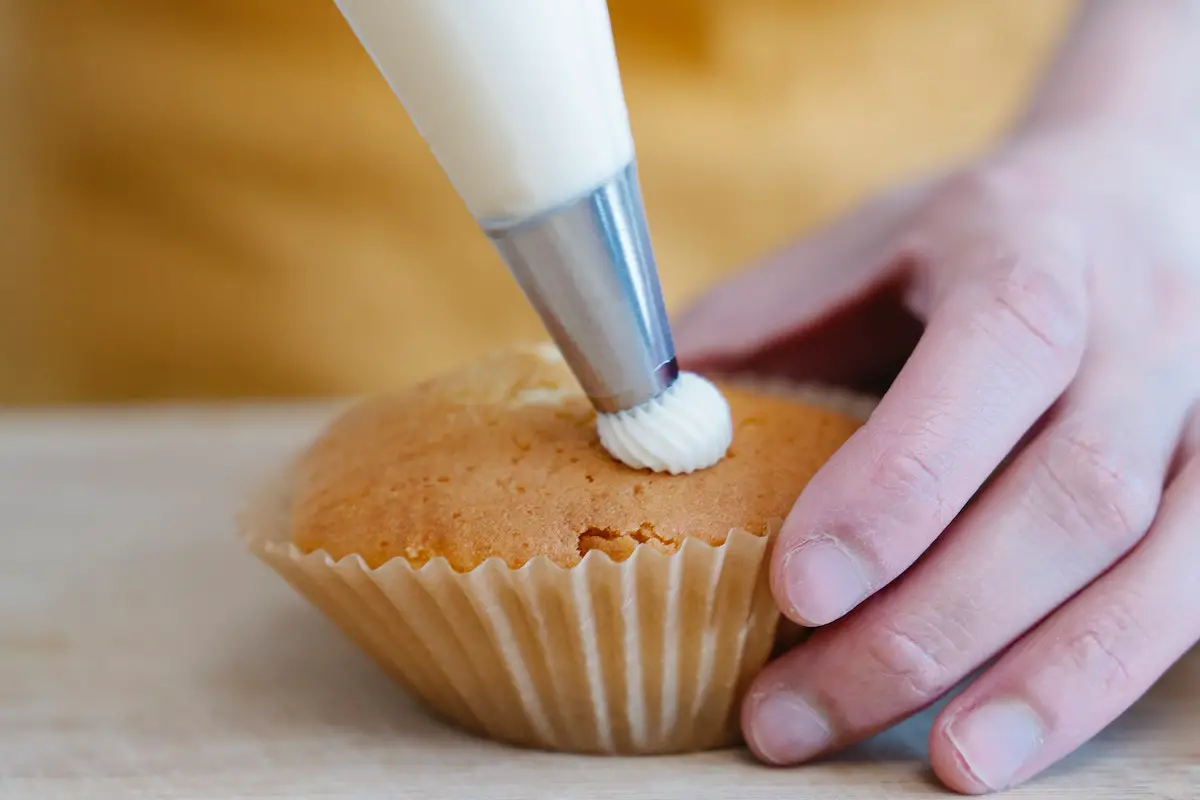
Decorating cupcakes beautifully with frosting all lies in how you handle your piping bag, particularly ensuring that you have a consistent shape squeezing out the end of it.
And to do that you need to apply constant pressure to the bag.
A large piping bag will make this process a whole lot easier because you can hold it by both the bag and the tip, and this will equate to constant and consistent pressure for each and every cupcake.
These bags are also a lot sturdier than their smaller counterparts which helps.
The main trick is to make sure that you don’t fill the bag all the way to the top. You want to leave at least a third of the bag empty.
Hand positioning is another important component.
You want your hands to be hovering over that delicious cake while the piping bag is held at a 90-degree angle.
Then it’s time to start piping.
You want the tip to be right over the cake and then start to swirl starting with the outside and raising the bag slightly as you begin to make your way into the middle to give it that high-swirled professional appearance.
Piping Tips
Now, you may think that the tip that you use to decorate your cakes won’t make much of a difference, but it’s actually the most important part.
The slight differences in tips will completely change the shape of your swirl and thus make the decoration look totally different each time.
Below you’ll find a list of my favorite tips to use for decorating cupcakes.
Closed Star Tip
Considering I have several of these tips knocking around my kitchen at all times, I think it’s safe to say that it’s my personal favorite.
When you imagine that traditional swirled frosting decoration, you’re picturing cakes that have used this piping tip.
And the great thing is that it’ll work with pretty much any frosting so long as it doesn’t have chunks within it such as chopped nuts or crushed-up cookies.
Otherwise, you’re good to go, both dense and light frostings alike, it will ensure that you have a clean-cut frosting.
Drop Flower Tip
To use this tip you’ll want to start out in the center of your cupcake and then trace the outside of your cupcake and move your bag upwards until you’re back at the center.
This gives a layered and professional dollop-looking frosting.
Much like the tip above, if your frosting includes bits or chunks, I’d avoid it as they can block and clog up the tip.
Dense frostings don’t tend to fair too well with this tip either, however, it is ideal for a light frosting such as a swiss meringue or whipped cream.
Open Star Tip
If you want to push yourself with your decorations and make a stunning rose on your cupcake then this is the tip for you.
To make a rose you’ll need to hold the piping bag at that 90-degree angle and then very slowly and carefully pipe from the middle of your cake to the outer edges.
Again, you’ll want to keep to light chunk-free frosting for this one.
Open Round Tip
Have you ever seen those perfectly circular swirls of frosted cakes? Well, that is achieved with the open round tip.
And I have some good news for our fellow chunky-frosting lovers – this tip is great for this style of frosting.
Chocolate and oreo frosting is my personal favorite. Yum.
For this one, you’ll start on the outer edges and make your way inside toward the center ensuring that you keep lifting the bag as you go.
Final Thoughts
The kind of shape of icing that you get will completely depend on the piping tip that you use.
But one thing that remains true for all manner of piping tips, is that you need to apply consistent pressure to the bag as you swirl it around your cupcake and keep that bag at a 90-degree angle.
But now that you know how to frost and decorate your cupcakes, you’ve got a bigger decision to make.
Which flavors and styles are you going to try first?
Most of all, remember that baking is a fun activity, you’re meant to be enjoying yourself, so don’t put too much pressure on yourself to decorate the first cake on your initial try.
Practice makes perfect!
- How To Make Honey Butter - July 4, 2023
- How To Make Meringue - July 3, 2023
- What Is Shortening? - July 3, 2023

