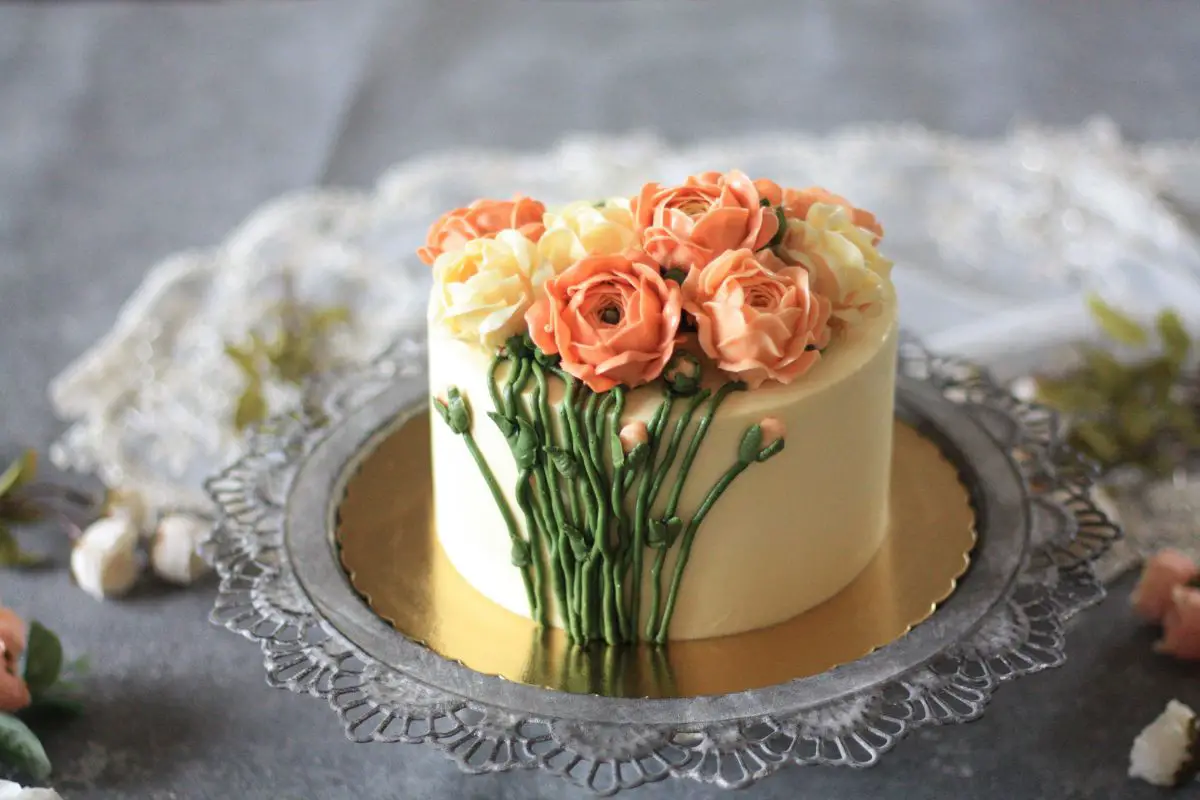
Baking can take a lot of time and effort, so you always want to make sure that your final dessert is looking absolutely as beautiful as it can.
If you’ve spent a long time baking a brilliant cake, you’ll want it to be covered in color and wonderful (and edible!) decorations. And what’s one of the best cake decorations? Buttercream peonies!

For those who don’t know, penies are a type of flower, and bakers will commonly make edible flower peonies to place onto their cakes.
Peonies look so delicate and intricate, with their layers of ruffled petals, and it makes the cake look that extra bit more elegant.
But how do you make buttercream peonies?
We’ve got the answers! In our useful guide below, we’re going to show you the simple process of how to make buttercream peonies for the most beautiful cakes.
Your cakes will be looking more elegant in no time!
What Will You Need For Making Buttercream Peonies?
You’ll need a few tools in order to make your own buttercream peonies, the key one being a piping bag.
The way that you squeeze out each buttercream shape is with the use of a piping bag, with different shape and size piping tips attached to the front in order to get different results.
In addition to the piping bag and piping tips, you’ll also need a “flower-nail” and some parchment paper.
The flower-nail is a nail that is attached to a base measuring 2 inches, and it allows you to twirl the flower around as you’re decorating, which lets you be more precise.
You should be able to get all of these supplies at the baking aisle of a lot of craft stores.
Equipment:
- Piping bag
- Piping tip #233 (for grass)
- Piping tip #104 (for petals)
- Piping tip #69 (for leaves)
- Flower-nail
- Parchment paper
How To Make Buttercream Peonies For The Most Beautiful Cakes
There are a few steps that you’ll need to follow in order to make delicate buttercream peonies decorations for your cakes, but the steps are relatively easy. Just make sure you follow our instructions carefully!
Preparing The Flower-Nail
To begin with, you’ll need to get your flower-nail ready. In order to do this, put a small dab of icing onto the top of the nail, then secure a little square of parchment paper onto that dab.
You’ll now have a square base of parchment paper on which to make your buttercream peony, and you’ll be able to move your base around as you’re decorating thanks to the nail beneath.
Making The Peony Center
Next up, you’ll want to make the first part of your peony flower, which is its center.
To do this, grab your piping bag and affix piping tip #233 onto its end. Now squeeze out a small amount of green-colored icing through the tip onto the middle of the parchment paper.
This is going to be the green center of your peony, and your petals are going to be coming out from it in a moment.
Making The Peony Petals
After you’ve done the center of the flower, it’s time to do the petals. For this, you’ll need some pink buttercream in your piping bag, and you’ll have to attach piping tip #104 onto the bag.
Rather than squeeze out separate petals around your flower, the idea is to squeeze out a singular petal that goes all the way around it instead.
The piping tip has the perfect shape for this, and you’ll need to carefully rotate the flower-nail and base as you’re squeezing buttercream out, in order to get a clean petal that goes neatly around the peony center.
We say “carefully rotate” because you need to be extremely careful! While focusing on rotating the base, it’s easy to lose track of things and stop the base from being flat.
When this happens, it’s very easy for your buttercream creation to slide out of place – or worse, slide onto the floor.
Additionally, try to pipe with an inward slant. By doing it this way, the petals will end up resembling a peony far more accurately, because their petals tend to go more inwards than outwards.
Making More Peony Petals

However, you should have got the hang of things once you’ve done your first surrounding layer of petal, so now you’ll be able to move onto the rest.
Using the same rotating and squeezing technique, you want to keep adding outer layers of petals, until you’ve got a flower that’s large enough for you.
As you squeeze out the petals, you’ll notice that they’re taking on a delicate, ruffled texture to their tips. This is great, because it makes them look even more like real-life flower petals.
Refrigeration
Once you’ve got enough petals, and your peony flower looks how you want it, it’s time to refrigerate it and allow it to set and harden.
Very carefully lift your parchment paper off the flower-nail and place the paper onto a baking sheet.
When you’ve piped as many peony flowers as you want, each on their own individual small squares of parchment paper, put them all on the tray and place it in the refrigerator.
Leave the peonies in the refrigerator overnight, because that should be enough time to harden them up.
Decorating Your Cake
The next morning, you can remove your tray of buttercream peonies from the refrigerator and place each of them onto your cake!
Remember to remove the parchment paper from each first, holding the flowers very gently so as not to break them while doing so.
Adding Leaves
Finally, when your peonies are positioned on the cake, you can add some leaves between the flowers.
Get a piping bag of green buttercream frosting and attach piping tip #69 in order to get a leaf-esque shape. Carefully squeeze them wherever you want!
Final Thoughts
Buttercream peonies make your cake look extra elegant – use our guide to craft your own peonies!
- How To Make Honey Butter - July 4, 2023
- How To Make Meringue - July 3, 2023
- What Is Shortening? - July 3, 2023


Leave a comment