In fact, it is becoming more common for couples to freeze a part of their wedding cake so that they can enjoy it together on a special anniversary. Romantic, right?
We think so! However, freezing and defrosting such an important item can be a little bit complicated. The last thing you want is to ruin your wedding cake!
That’s where we come in. Below, we’ve created an in-depth and easy-to-follow guide that details exactly how to freeze and defrost your wedding cake.
Our instructions are super detailed so you know exactly what to do to make the most out of your wedding cake (see also ‘How Long Is Cake Good For?‘). Take a look – you and your other half won’t regret it!
How To Freeze A Wedding Cake
For the best results, it is essential that you freeze your wedding cake properly. If you don’t use the proper techniques, it is likely that your cake won’t taste great once it has been defrosted.
In fact, it may not even be edible! To ensure that your cake defrosts perfectly, follow our freezing steps below.
Step One: Plan Ahead
Weddings are wonderful. But, they are also chaotic.
As such, if you’re certain that you want to freeze your wedding cake, it is important that you bring the necessary tools (i.e., large, air-tight Tupperware), and let your bridesmaids know exactly what part of the cake you want to save.
Time is of the essence, so give this job to someone you trust!
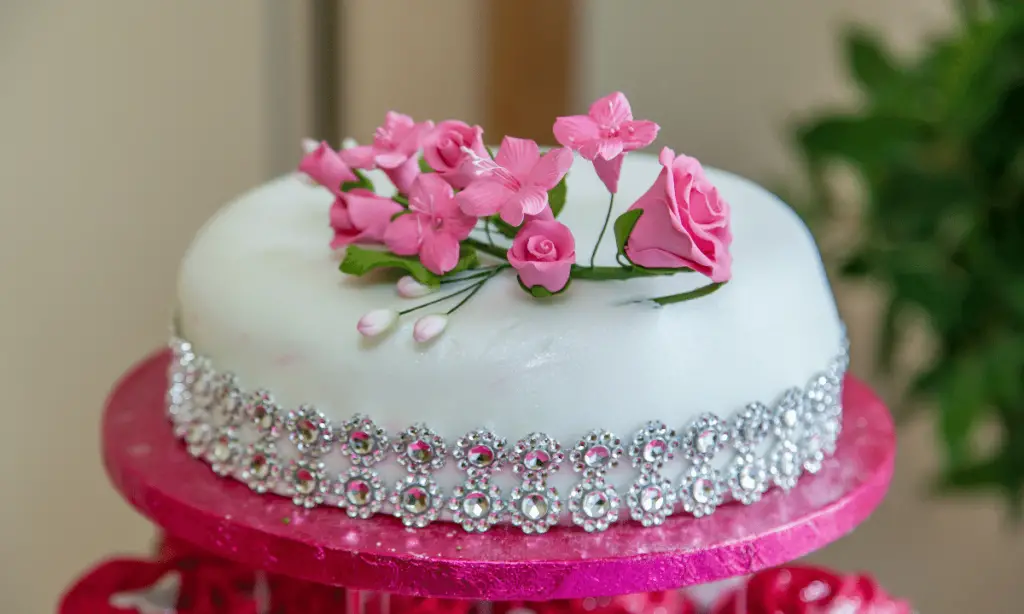
Step Two: Remove The Decoration
Before you freeze your cake, it is important to make sure that all non-edible decor is removed from the cake. This includes flowers, stems, leaves, and garnish.
These won’t freeze very well and will hinder the defrosting process.
Step Three: Be Mindful Of Delicate Layers
If your wedding cake contains fresh fruit or a mousse layer, it is unlikely that you’ll be able to freeze it successfully. This is because these aspects are very delicate, and will likely be damaged by the freezing process.
If this applies to your cake, don’t worry! You do have some options. For example, if it is possible, you can remove these layers of the cake before freezing. Or, simply freeze a slice of cake with a minimal amount of these layers.
Step Four: Refrigerate First
Many people skip this step, however, we think that it is invaluable. If you refrigerate the cake for a few hours, the icing will be far more solid when you move it into the freezer. This will ensure that it stays as intact as possible.
Step Five: Wrap It Up
Once your icing is hard, we recommend wrapping your cake in a few layers of plastic wrap. It is important to take your time with this process – there should be no air bubbles or space between the wrap and the cake.
Then, place the cake in an airtight container. Make sure that it is large enough to hold the cake comfortably. This process will help to prevent freezer burn and other damage in the freezer.
You can even wrap the container in a layer of foil for extra protection!
Step Six: Fix The Freezer
Your wedding cake is important. As such, if you notice that your freezer isn’t in great condition, we highly recommend that you sort it out before putting your wedding cake in there.
For example, try to eliminate any odors, or even defrost the freezer and give it a clean beforehand. If possible, it is also a good idea to give your wedding cake some room in the fridge.
If you stack it on top of your frozen veg, it could fall and get damaged!
How To Defrost A Wedding Cake
Now that you know exactly how to freeze your wedding cake, let’s take a look at the defrosting process. To ensure that your cake tastes delicious it is necessary to follow some strict defrosting steps. Take a look at them below.
Step One: Refrigerate
First of all, it is important to note that the key to defrosting cake is to take it as slowly as possible. So, make sure that you have enough time on your hands to complete the process properly!
When you want to defrost your cake, we recommend first putting it in the fridge for around 2 hours. Then, take off the tinfoil or extra layer around the container, and put it back in the fridge for another few hours.
Step Two: Remove The Layers
Take the cake from the fridge and remove it from the container. If you can easily peel the plastic wrap off the cake, remove it. If you can’t easily peel it yet, put it back in the container and wait another hour or so.
Step Three: Re-Wrap
Once you have removed the plastic wrap, we recommend replacing it with a new, clean plastic wrap. Or, at this stage, you could use wax paper instead.
Then, place it in the fridge for at least 4 more hours. We recommend that you leave it overnight.
Step Four: Let It Rest
Now, you can take your cake out of the fridge, and let it return to room temperature. This may take some time, so be patient! Trust us, it will definitely be worth it. Leaving it at room temperature makes it all the more delicious.
Step Five: Enjoy!
Congratulations! Now you can enjoy your wedding cake again. If you’re celebrating an anniversary, make sure to pop open a bottle of something bubbly to reminisce on your wonderful day.
Conclusion
We hope that this article has given you the information you need to be able to savor every morsel of your wedding cake! Remember, for the best results, you need to be patient and work slowly!